Making this neon themed blog
10 May 2022Programming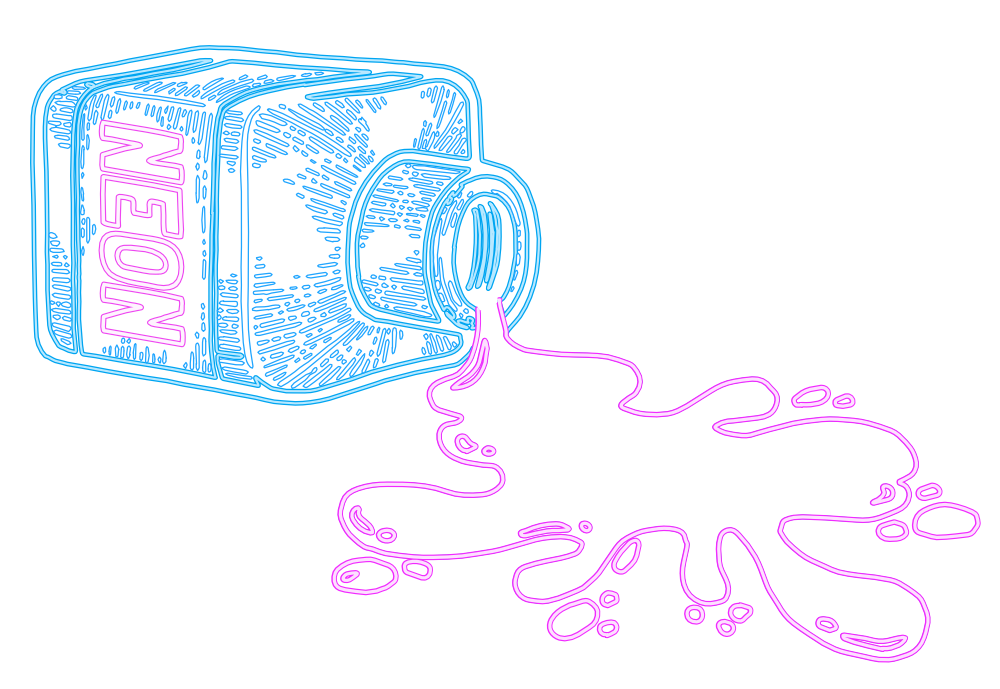
I have been wanting to have a website for a long time. For someone who started tinkering with websites in middle school, I guess I really took my time.
For a while, I wanted the most minimalist and exclusive website : just a fake command line interface ... with no help guide. After reading many great blog posts highlighted on HackerNews, I realised just how much the internet of blogs was still alive, at least in the tech community.
Over the years, I have accumulated a few fun projects, some years long and some more like one-weekend-no-sleep-obsession things. For most of them, I had also written documentation, with photos, plans and some form of progress log.
For the name, I had purchased jde.xyz a few years ago. The name stands for "Jeremy Dahan Engineering ... XYZ". The XYZ domain was chosen because it sounds like a cartesian coordinates system, reminding me of maths and CNC machines.
I knew from the start I wanted a static website with articles written in MarkDown, because this is a lot less maintenance and because plain text content should remain easy to render for decades. I tried a few static generators before settling on Eleventy, which looked simple and easy to customise. I also knew most articles would have some code, some maths, a few images and sometimes embedded content like YouTube videos or 3D viewers, and eleventy provided good plugins for all of them. [1]
For the theme, I was initially going for a very sober style. While looking for inspiration, I ran across the 11r theme, which I quite liked. However, I wanted a website that could be rendered properly on IE10 and on old-ish devices like my iPad (the original model from 2010 running iOS 5). This meant an accessible website that does not depend on recent browser features, leaving Tailwind CSS (and thus the 11r theme) out.
So I used the most widely compatible CSS framework I know : Bootstrap V3. At first, I only replicated the 11r style, but when I was chosing the theme for the code syntax highlighter, I stumbled on a neon-themed stylesheet. This threw me back to the neon punk / 80s synthwave aesthetic and I had no choice but to go all in.
For the titles, I took some of the style and inspiration from https://www.retro-synthwave.com/
For the logo, I used some of the technics found in https://freefrontend.com/css-glow-text-effects/, especially this CodePen by George Park https://codepen.io/GeorgePark/pen/MrjbEr. I started with an animated SVG, but quickly found out that Safari was not rendering SVG filters properly, so I opted for an animated PNG. APNG have the nice benefit of just falling back to a static image if animation is not supported. I used ezgif to arange all the frames and generate the APNG, although I guess I could have just used ffmpeg. I believe I am still seeing glitches in Safari iOS sometimes, though.
Seing how box-shadow and text-shadow were making the website very slow on my underpowered Samsung phone, I removed a lot of the alpha components and reduced radiuses. This also made everything less blinding and a somewhat more readable.
I also added a first letter neon effect using the ::first-letter pseudo selector. [2]
I also wanted nice thumbnails. I do not have access to DallE2, so I made them "manually" : I used stock vector images from Adobe Stock and other websites, and I edited them in Affinity Designer to make them pretty and neon themed.
Some thumbnails are wireframe views of my CAD models, which I made in AutoDesk Fusion360[3].
Overall, I am pretty happy with the result. The pink/blue theme looks a bit girly and flashy sometimes, but I still like the atmosphere it gives. The articles are still easy to read, and I really like to have thumbnails that match the theme.
The plugins I used are :
@iktakahiro/markdown-it-katex(for displaying math symbols, like MathJax),markdown-it-footnoteandmarkdown-it-toc-done-right(for table of contents) ↩︎I found a strange behaviour in Firefox : Firefox renders the padding of
::first-letterpseudo elements differently than Chrome and Safari. I ended up using a combination ofpaddingandline-heightto make up for the discrepancies. ↩︎There is no direct way to get a nice vector PDF from the free version of AutoDesk Fusion360. On macOS, I used the following method :
- In Fusion, print the drawing into a printer that is not connected
- Check the most recent file in the printer queue
bash sudo ls -l /private/var/spool/cups/ - Copy it and add a '.pdf' extension
bash sudo cp -R /private/var/spool/cups/d00005-001 ./test.pdf - I suppose you could otherwise use a virtual PDF printer, which saves the trouble of using the command line.
- Next: Tools I use
- Previous: Experiments in creating a wearable temperature regulator